Smart Monitoring, Reliable Protection: Advanced Data Loggers & Temperature Control
Praxas can empower your business with advanced data loggers, biomedical refrigerators & freezers, and comprehensive temperature-control solutions.
Experts in Temperature Compliance and Monitoring
At Praxas, we specialise in providing advanced solutions for temperature monitoring and compliance across industries. With a focus on safeguarding sensitive products, we offer innovative tools and services to ensure your goods maintain optimal conditions throughout storage and transport. Whether it’s for medical supplies, food, or high-tech equipment, our goal is to deliver reliable, efficient solutions that protect your products and your reputation.
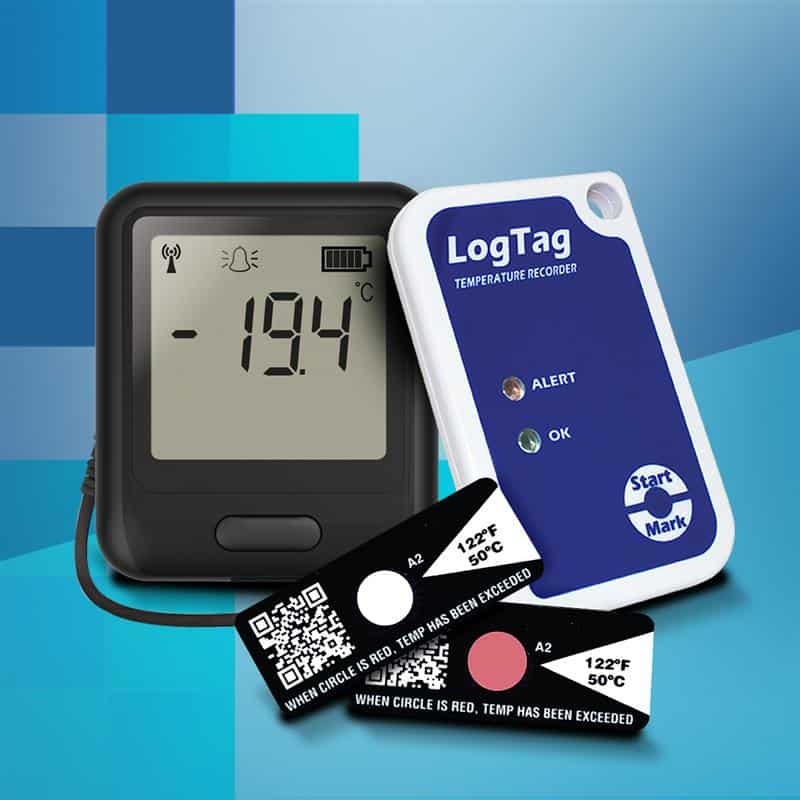
Reliable Data Loggers for Temperature & Humidity Monitoring
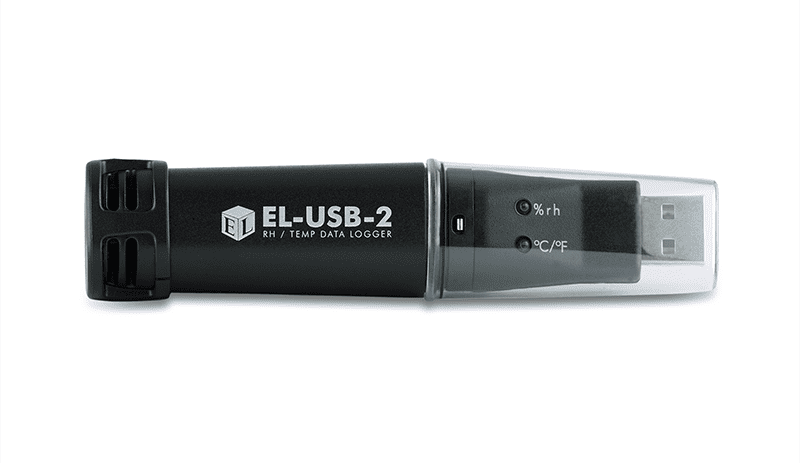
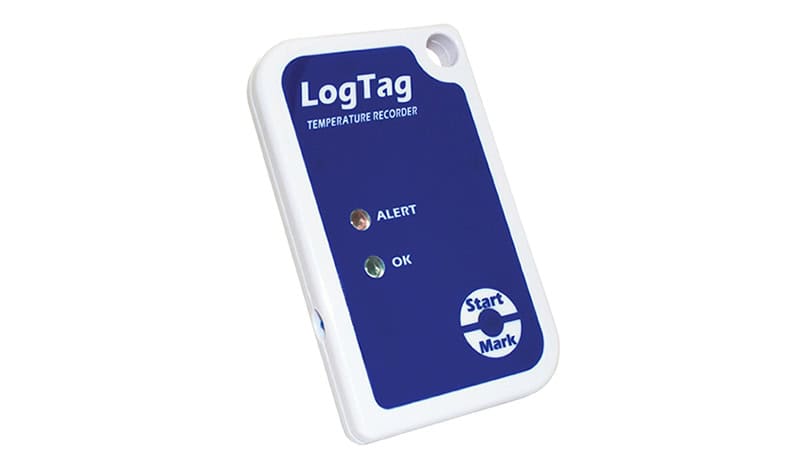
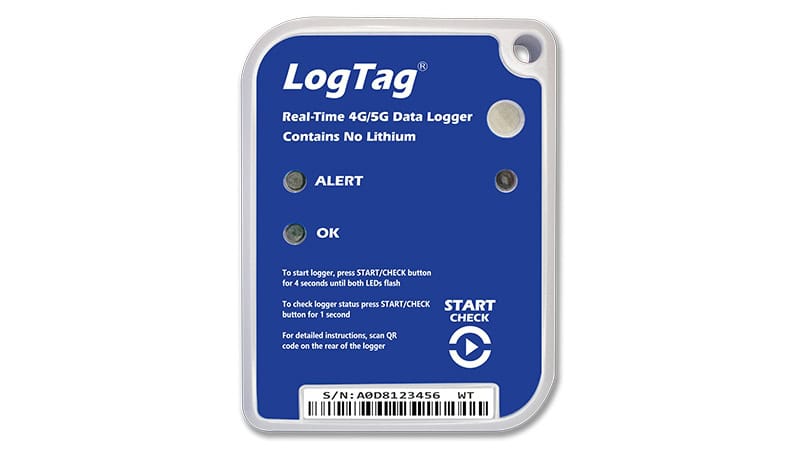
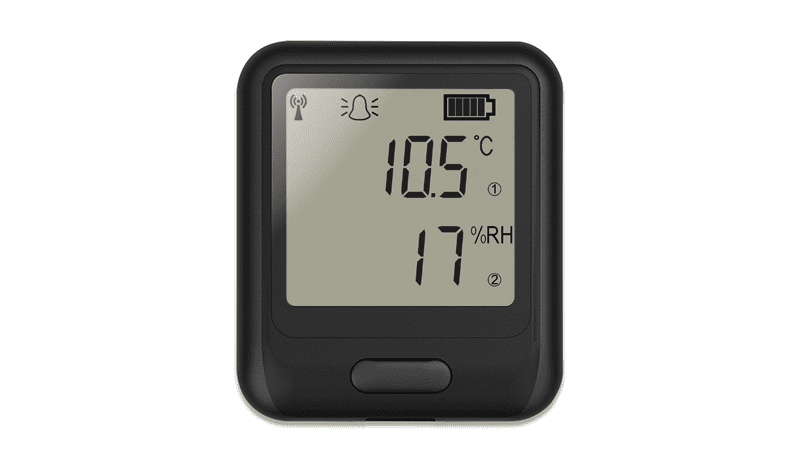
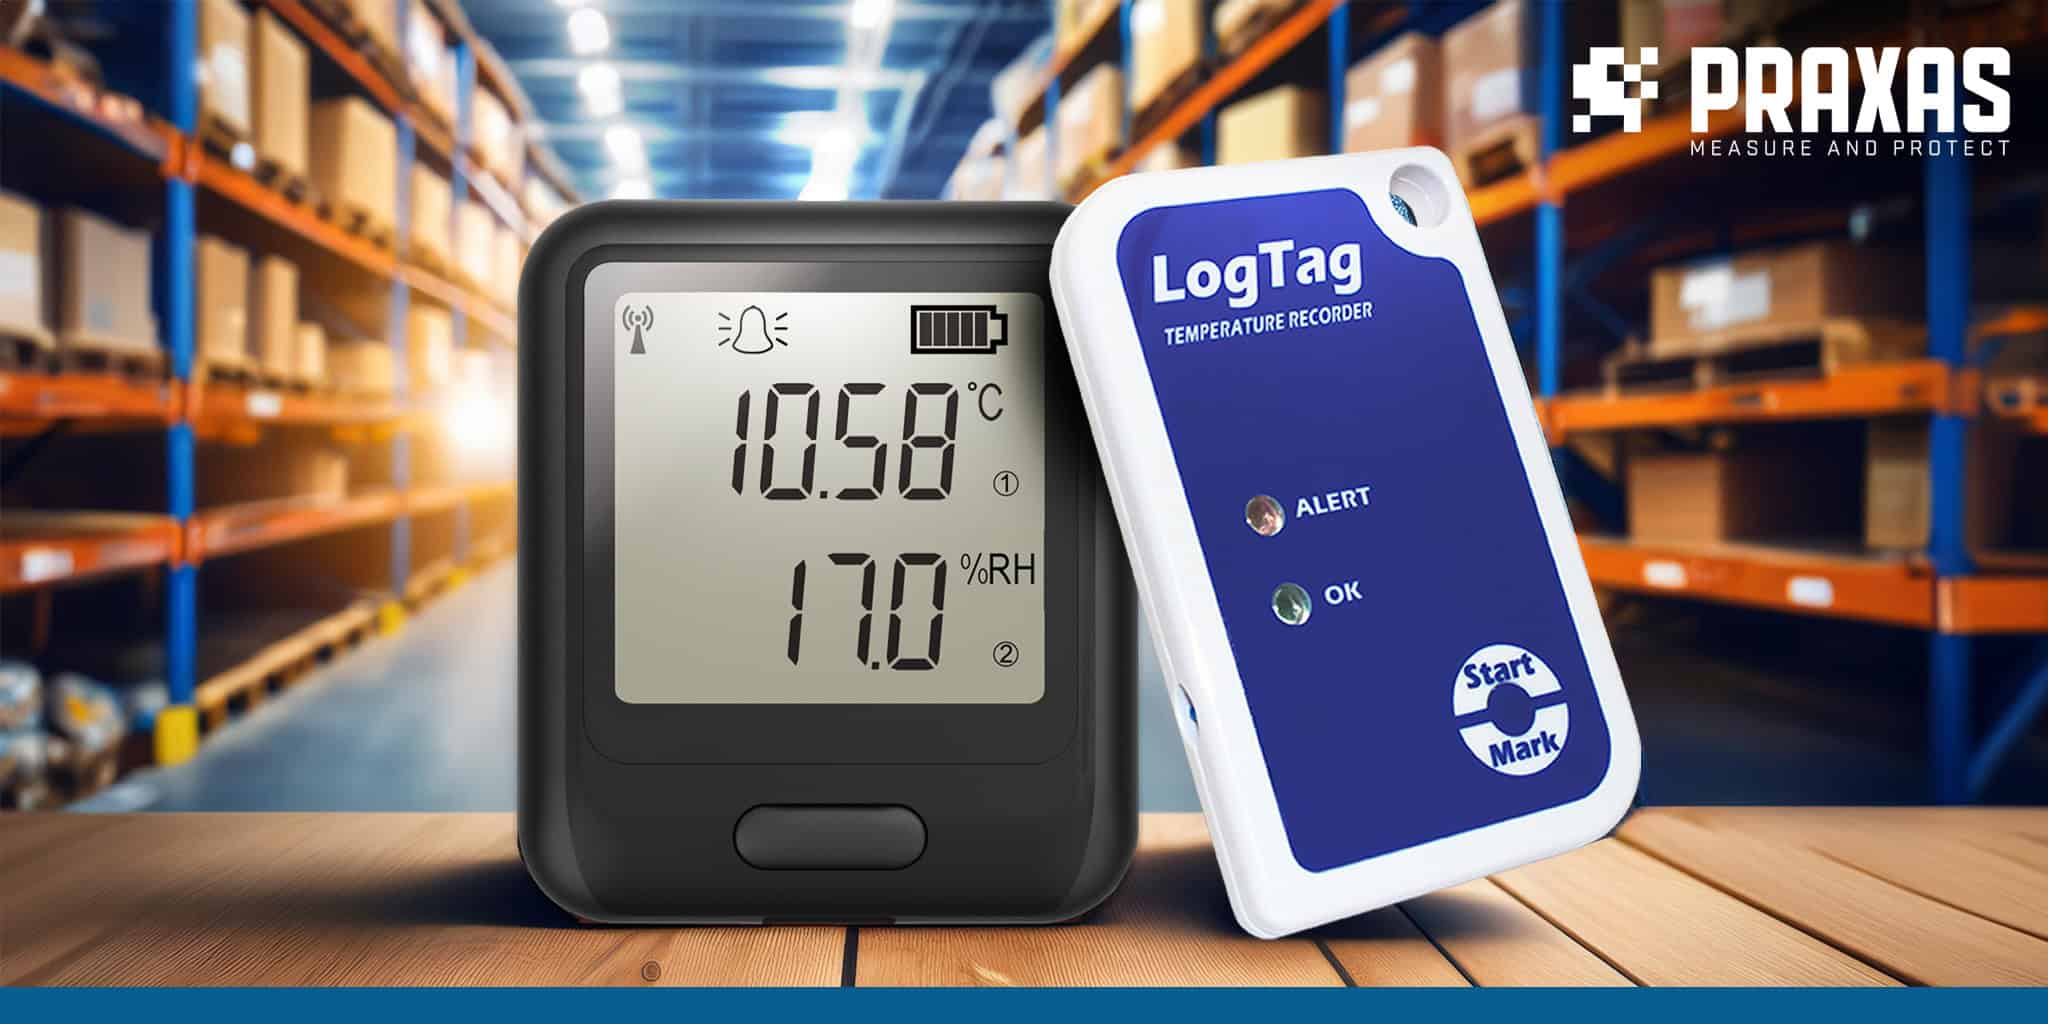
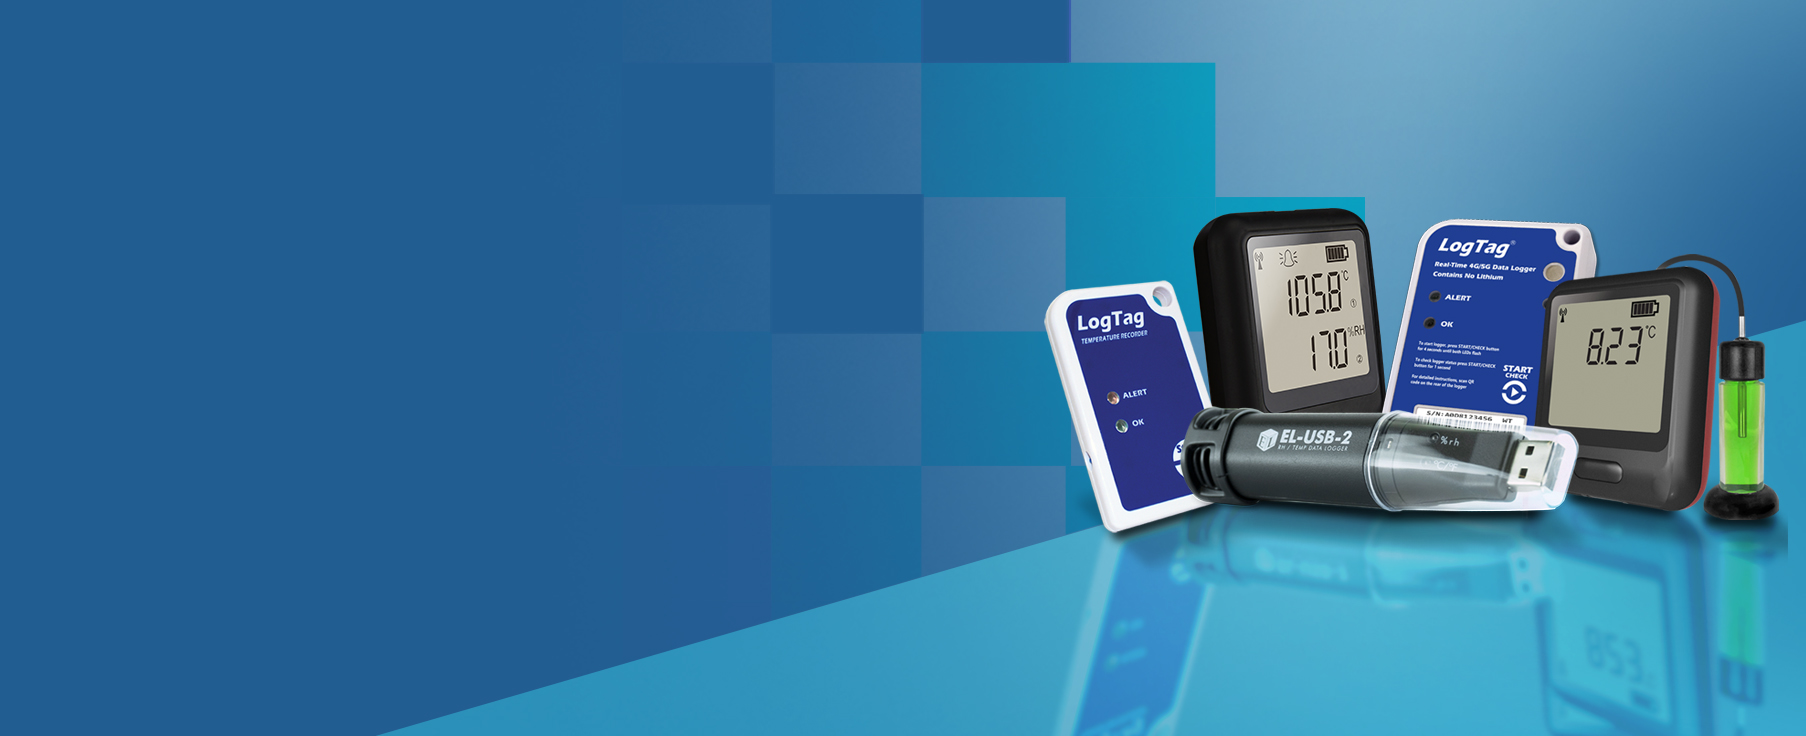
Praxas provides high-quality data loggers to monitor temperature, humidity, and more, ensuring product integrity and regulatory compliance. From food to pharmaceuticals, our reliable solutions help keep your goods in optimal condition.
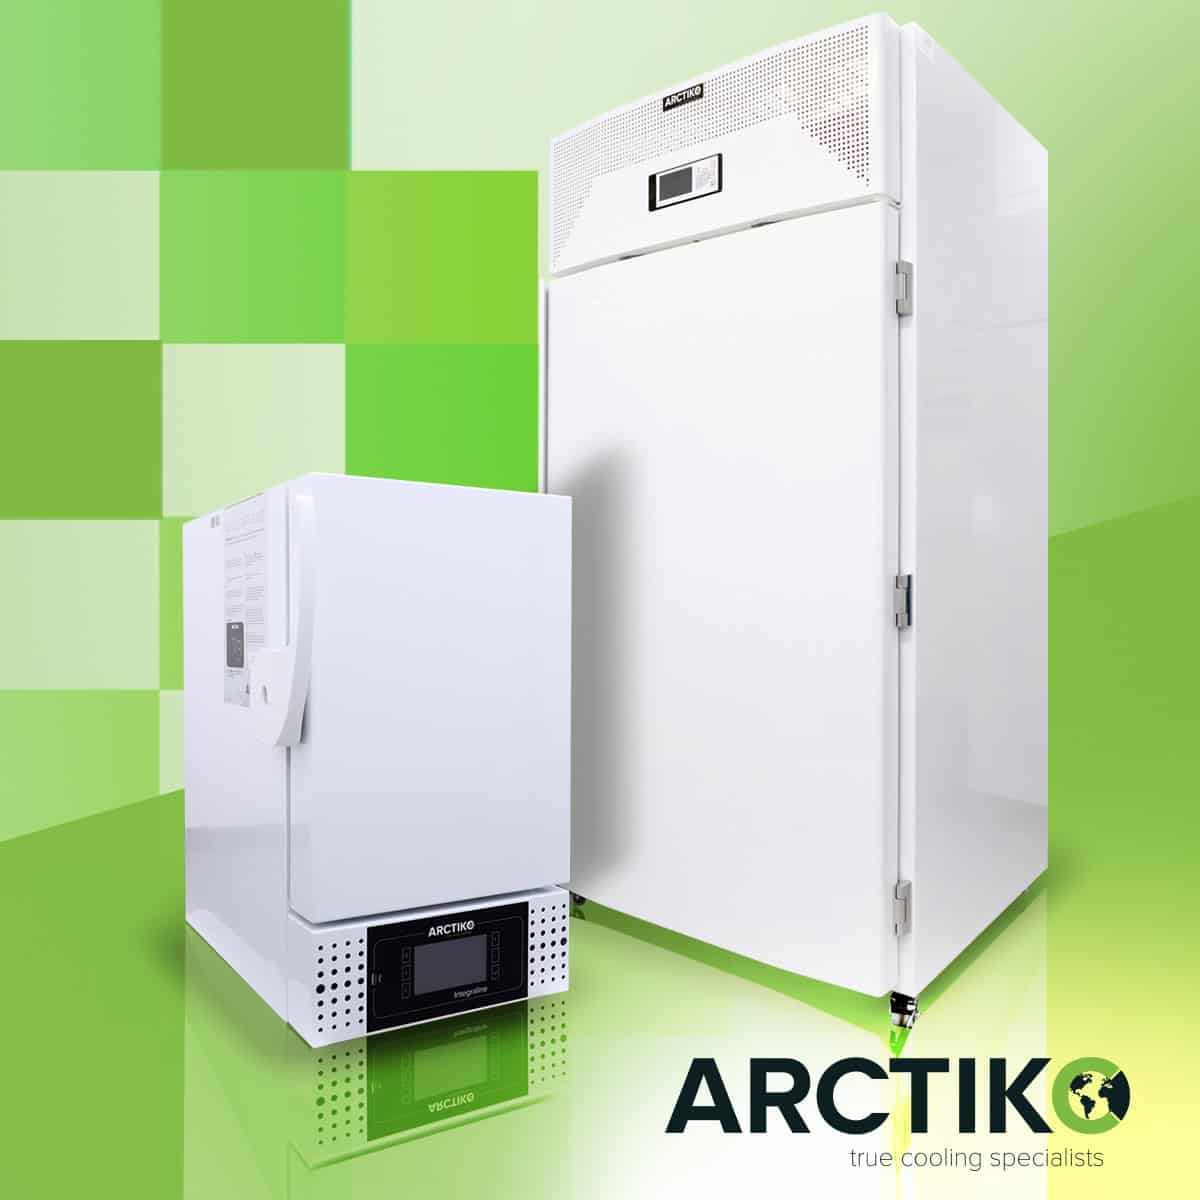
Reliable Biomedical Refrigerators & Freezers for Sensitive Products
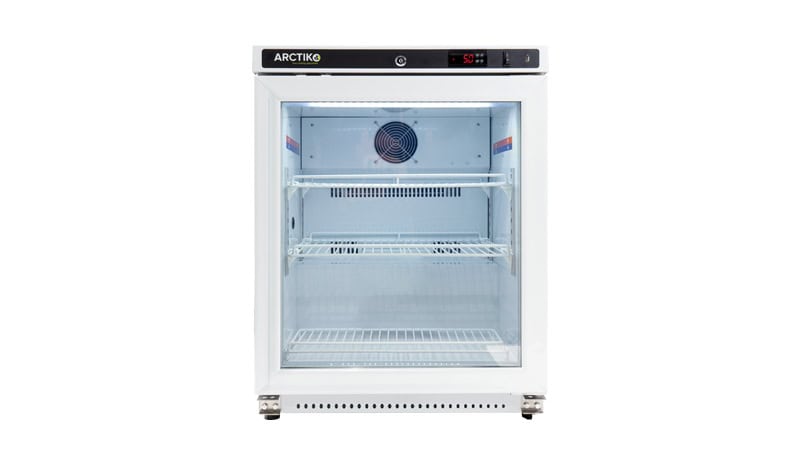
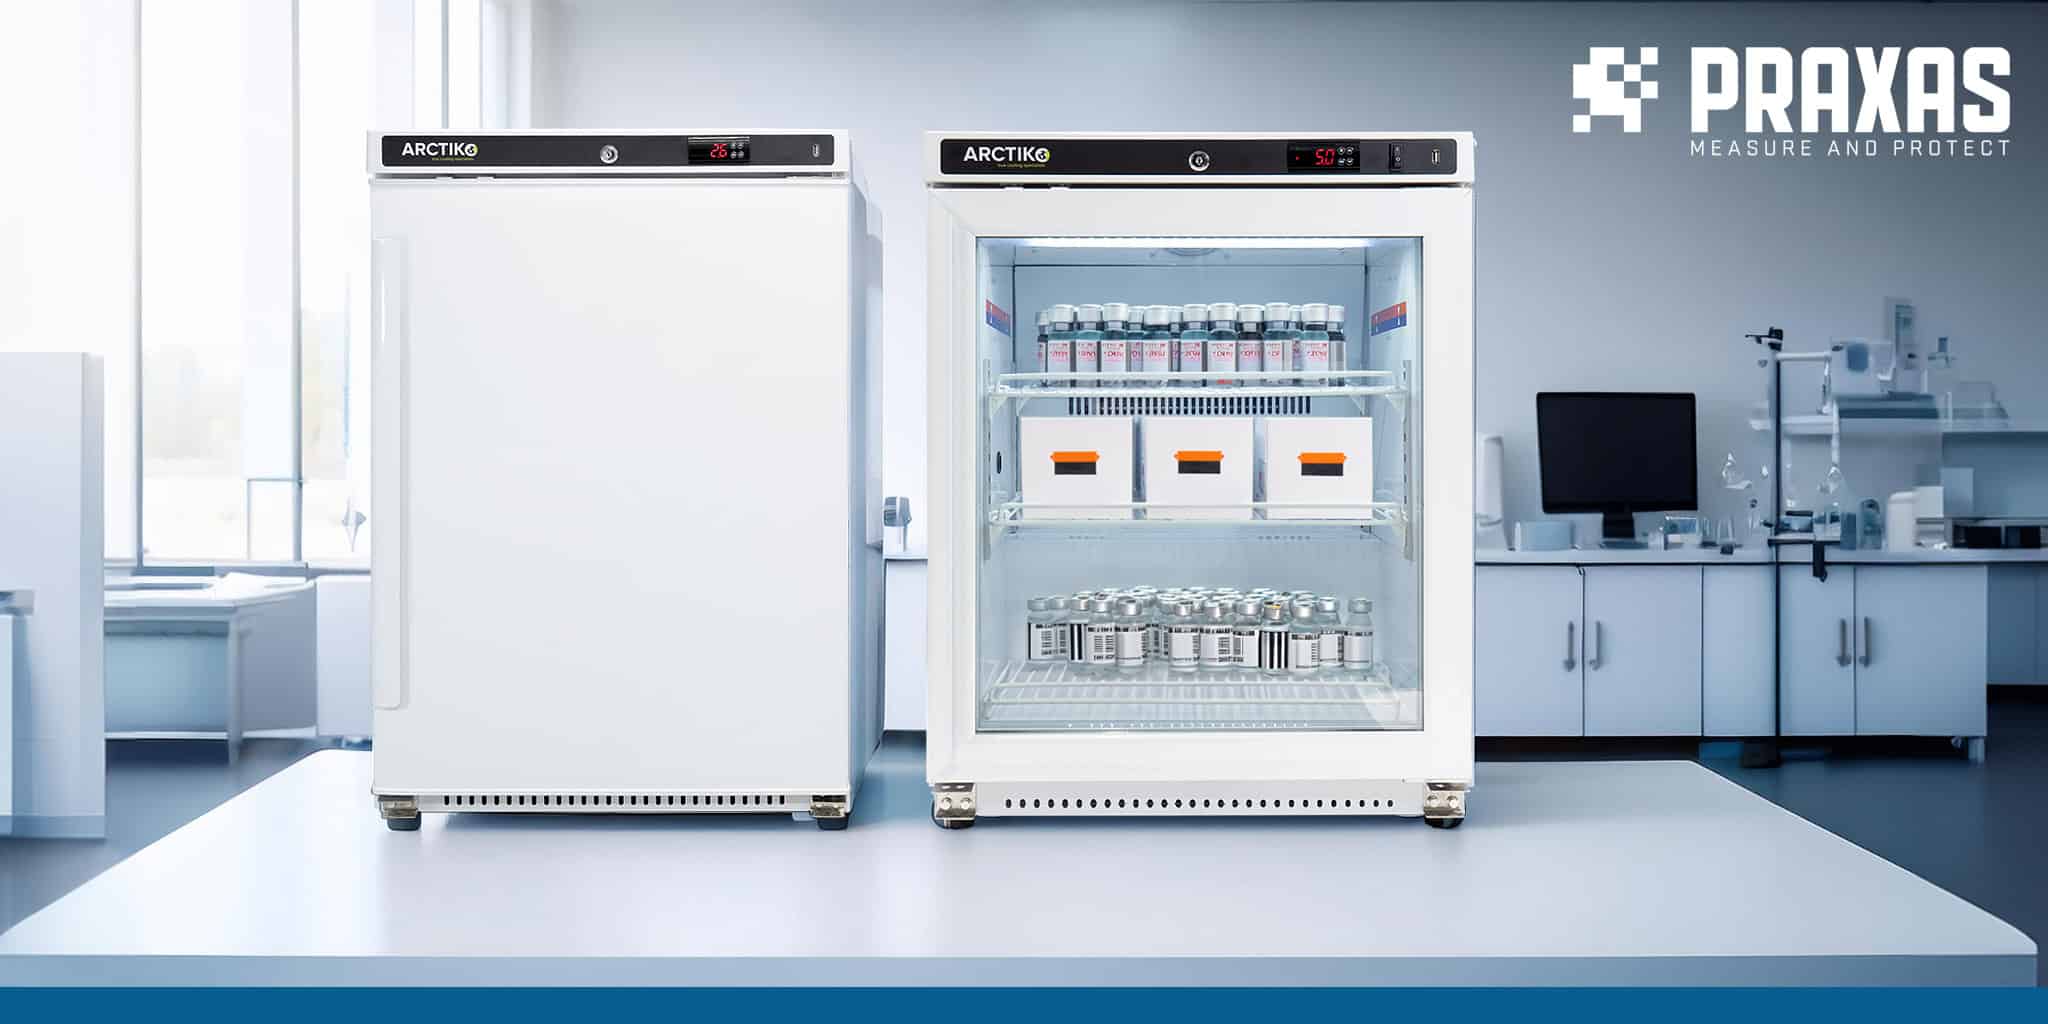
Ensure precise and stable temperature control for vaccines, pharmaceuticals and laboratory storage with our high-quality biomedical refrigeration solutions. Designed for reliability, they help protect sensitive products from temperature fluctuations, ensuring safety and compliance with industry standards.

Effortless Monitoring with Cloud-Based Solutions
Praxas’ cloud services provide secure, real-time access to your temperature and humidity data from anywhere. Stay informed with instant alerts, simplify compliance and manage all your devices with ease – all in one central platform.
Cargo & Shipping Protection: Safeguard Your Goods Every Step of the Way
Praxas offers reliable cargo protection solutions to keep your shipments secure. Our range of products, including desiccants and container liners, protect goods from moisture, contamination, and damage, ensuring your products arrive in perfect condition.


